

SPIDER!!!
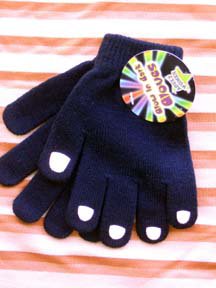
1. These are the gloves I got from Target. They have glow in the dark pads on the finger tips. They also had some with green dots.
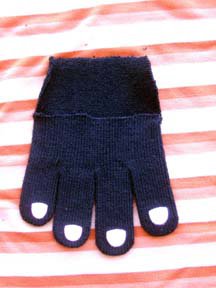
2. Cut the thumb and wrist band off.

3. On the side with the pads, cut half way down each side of the palm. Then cut straight across, removing a (sort of) rectangular piece.
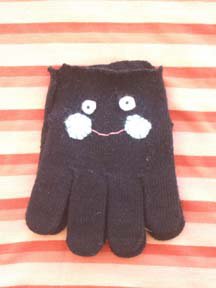
4. Applique and/or embroider a face to one of the glove pieces on the side that does NOT have the pads.
5. With the outsides of both glove pieces together sew in an arch along the raw edges as shown with the orange line the picture.

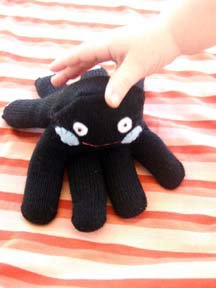
6. Turn right side out and stuff with fiber fil, beginning with fingers and then the body. Turn raw edges in and stitch opening closed.

My baby loves it!
Thank YOu Moki for this great tutorial.


No comments:
Post a Comment